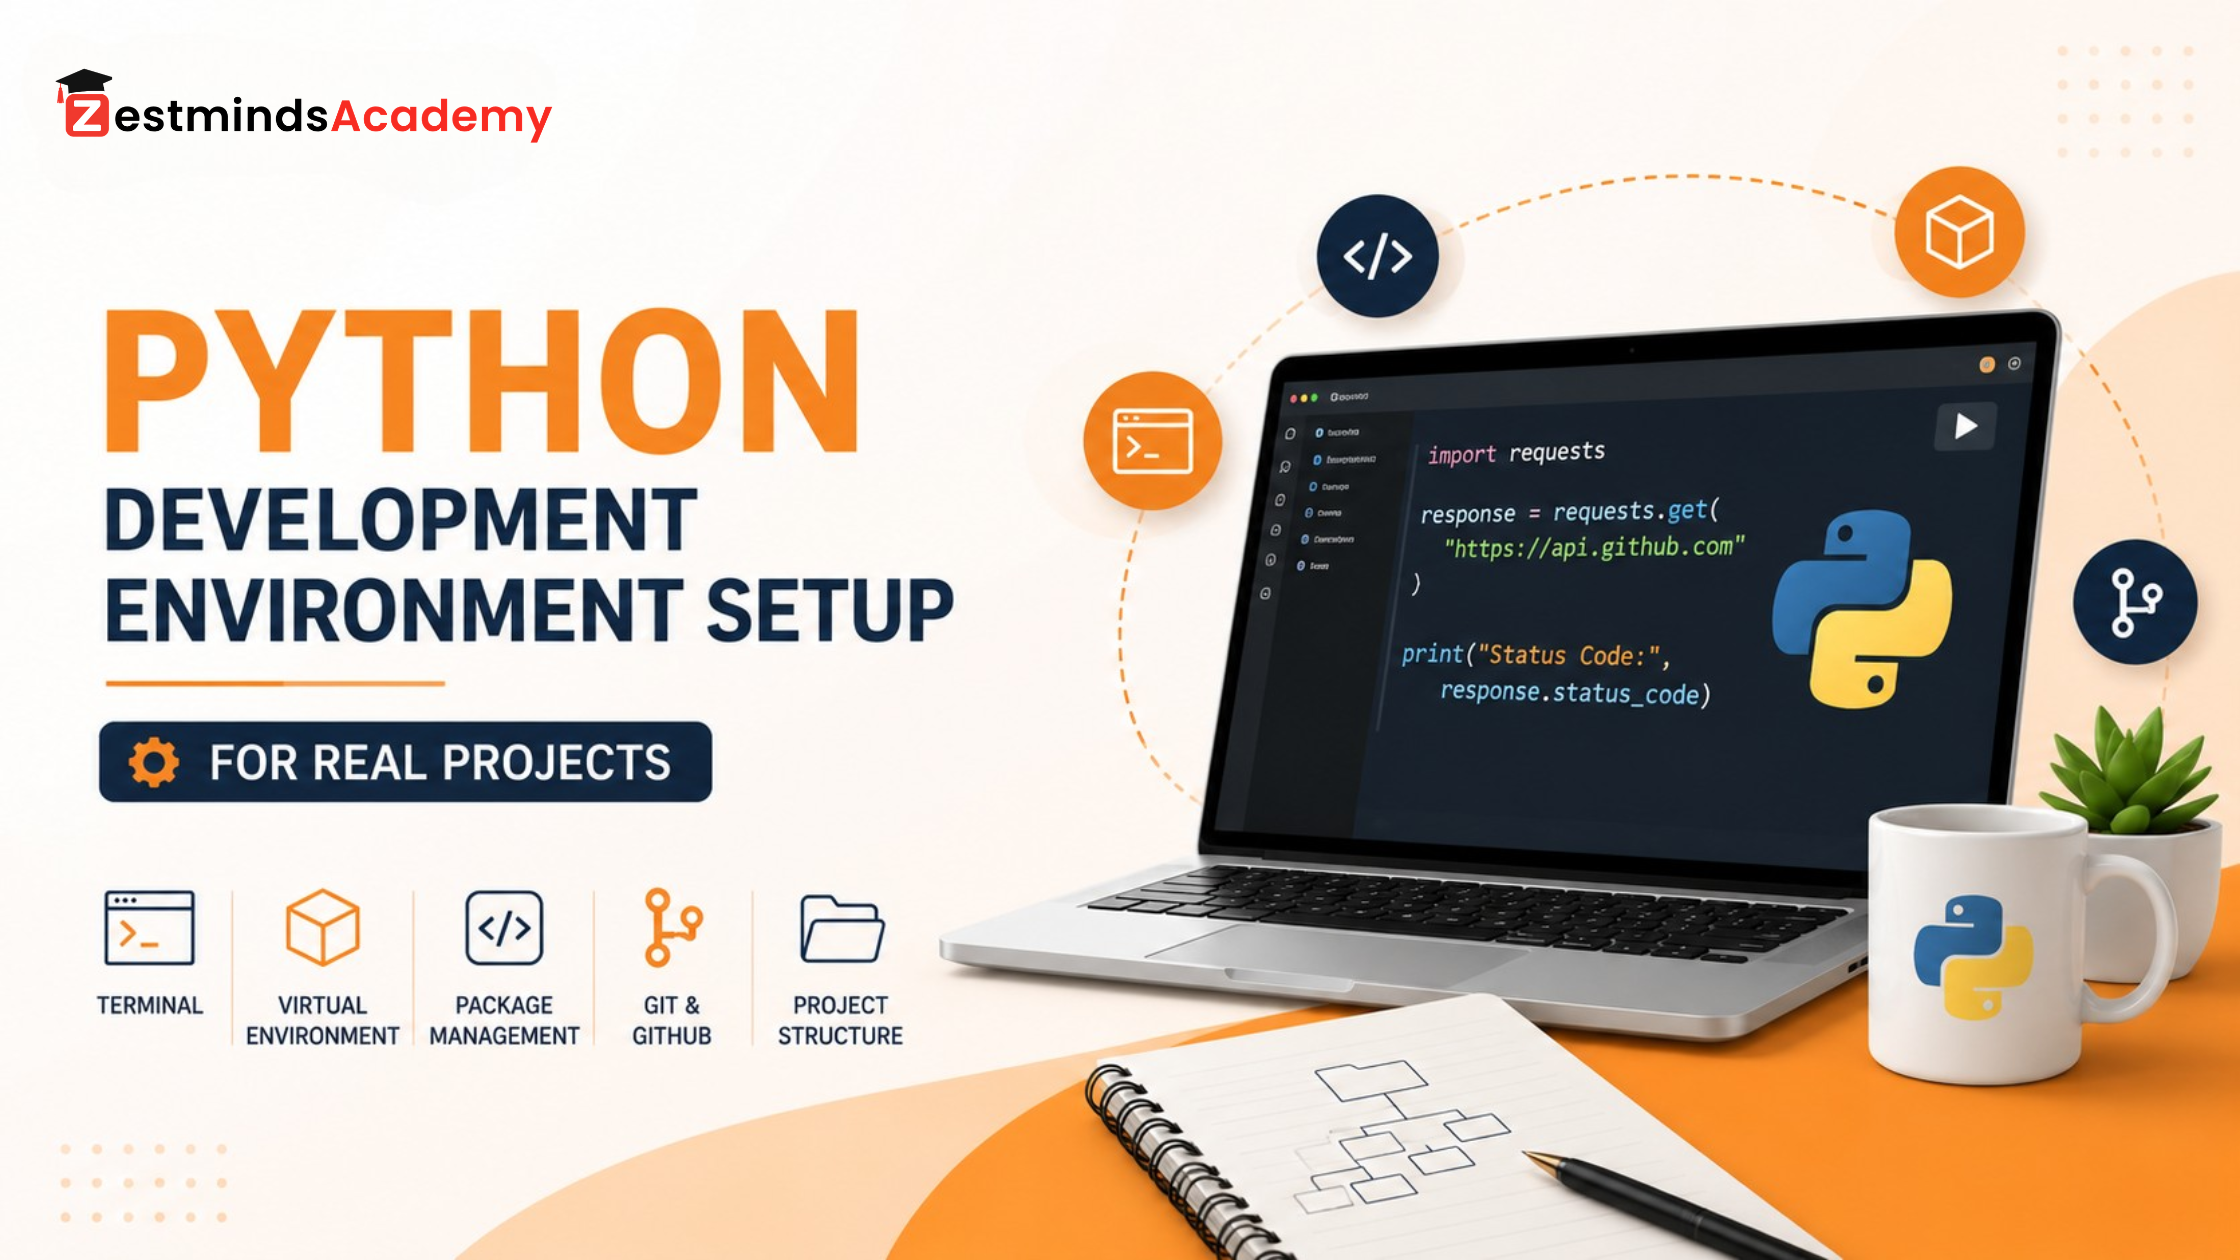
Python Development Environment Setup for Real Projects
Many students start learning Python by writing small programs in online compilers, college lab systems, or random files saved on the desktop. That is completely fine in the beginning.
But when you move from basic practice to real project work, Python setup becomes important.
A real Python project is not only one file with a few lines of code. It may have multiple files, external packages, APIs, data files, virtual environments, and proper folder structure. If your setup is not clear, you may face errors even when your logic is correct.
This Python development environment setup will help you move from basic practice to real project-based coding.
Many students can write loops and functions, but the first difficulty comes when they try to run the same code on their own laptop, install a package, or open the project correctly in VS Code. This does not mean they are weak in Python. Many times, the issue is only with installation, interpreter selection, package setup, or folder structure.
In this guide, you will learn how to set up Python for real projects using Python, VS Code, terminal, virtual environment, pip, requirements.txt, and basic Git awareness.
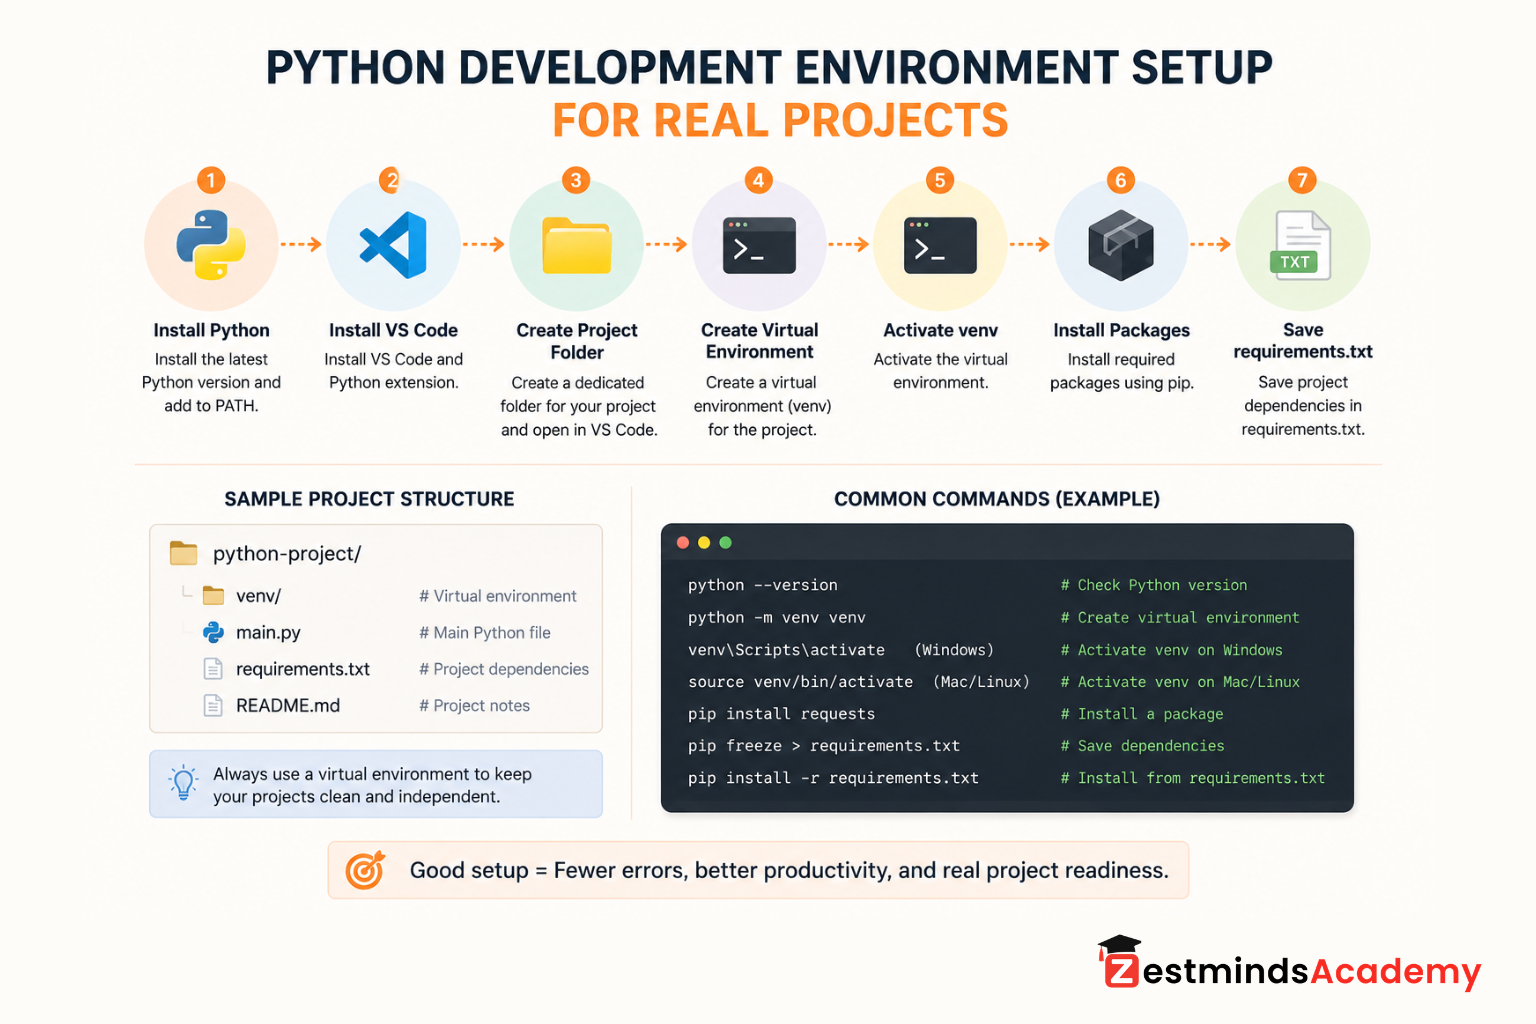
Quick setup flow:
Install Python → Install VS Code → Create a project folder → Create venv → Activate venv → Install packages → Save requirements.txt

What Is a Python Development Environment?
A Python development environment is the complete setup you use to write, run, test, and manage Python code.
It is not only about installing Python.
A proper Python development environment usually includes:
- Python interpreter
- Code editor
- Terminal or command prompt
- Project folder
- Virtual environment
- Python packages
- Dependency file
- Basic version control
In simple words:
Python Development Environment =
Python + VS Code + Terminal + venv + pip + project folder + Git
Think of it like a proper study desk.
Python is your main book. VS Code is your notebook. Terminal is your command tool. A virtual environment is a separate bag for each project. Your project folder keeps everything related to one project in one place.
When these things are set properly, you can focus better on learning and building instead of getting stuck in basic setup errors.
Mentor note: In practical Python training, we often see that beginners are not stuck because they cannot understand Python. Many times, they are stuck because their system setup, interpreter, or package installation is not clear.
Why Online Python Compilers Are Not Enough for Real Projects
Online Python compilers are useful for quick practice.
They are good for learning:
- variables
- conditions
- loops
- functions
- small logic-based programs
But real projects need more control.
In real Python development, you may need to:
- create multiple files
- install external packages
- work with APIs
- read and write files
- manage folders
- debug errors
- use databases
- share code with others
- use Git and GitHub
Online compilers usually do not give you proper control over these things.
| Online Python Compiler | Local Python Setup |
|---|---|
| Good for quick practice | Good for real projects |
| Limited package control | Full package control |
| Usually single-file coding | Proper project folders |
| Less debugging control | Better debugging tools |
| Not ideal for teamwork | Better for internships and project work |
Online compilers are not wrong. They are just limited.
This is especially important for students preparing for internships, college projects, or practical Python training in Mohali and nearby areas. Once you start working on real assignments, a local setup becomes necessary.
Tools You Need for Python Development
Before installing everything, it is important to understand the role of each tool.
Python
Python is the programming language and interpreter that runs your .py files.
When you write:
print("Hello Python")
Python reads and executes that code.
For real development, you should install Python on your own system instead of depending only on online platforms.
VS Code
VS Code is a code editor. It helps you write, organize, run, and debug code.
Many beginners use VS Code because it is lightweight, flexible, and useful for different technologies, not only Python.
For Python development, VS Code becomes more useful when you install the Python extension and select the correct Python interpreter.
You can also check the VS Code Python documentation to understand Python support, interpreter selection, and running Python files in more detail.
VS Code or Jupyter Notebook: Which One Should Beginners Use?
Jupyter Notebook is useful for data analysis, experiments, and step-by-step output. Many data analytics and data science students use it because they can run code in small cells and see results immediately.
But for structured Python projects with folders, files, reusable code, and real project workflow, VS Code is a better starting point.
A simple way to decide:
| Tool | Better For |
|---|---|
| VS Code | Real projects, multiple files, backend work, scripts, APIs |
| Jupyter Notebook | Data analysis, experiments, visual output, learning pandas/NumPy |
Students can learn both over time. But for this guide, we will focus on VS Code because the goal is real project setup.
Terminal or Command Prompt
The terminal is used to run commands.
For example:
python --version
or:
pip install requests
Many beginners feel uncomfortable when they first see the terminal. That is normal. But in real development, terminal commands become part of daily work.
You do not need to memorize every command. You only need to understand what the command is doing.
pip
pip is used to install Python packages.
For example, if your project needs to call an API, you may install a package like requests:
pip install requests
Real projects often use external packages. Developers do not write everything from zero.
Virtual Environment
A virtual environment keeps each project separate.
This is one of the most important habits in real Python development.
For example, one project may need one version of a package, while another project may need a different version. If everything is installed globally on your system, conflicts can happen.
A virtual environment helps avoid that problem.
Git and GitHub
Git helps you track code changes.
GitHub helps you store and share your code online.
You do not need to master Git on the first day of learning Python, but you should know why it is used in real projects.
Step 1: Install Python and Check It Correctly
First, install Python from the official Python website.
During installation on Windows, you may see an option like:
Add Python to PATH
Select this option.
PATH tells your computer where Python is installed, so when you type python in the terminal, your system can find it.
After installation, open Command Prompt, PowerShell, or terminal and run:
python --version
On some systems, especially Mac or Linux, you may need:
python3 --version
If Python is installed correctly, you should see a version number.
Example:
Python 3.12.4
Your version number may be different. That is fine. The important thing is that Python should respond in the terminal.
Common Student Issue
Sometimes students install Python, but the terminal still says Python is not recognized.
This can happen because:
- Python was not added to PATH
- the terminal was not restarted after installation
- the wrong command is being used
- multiple Python versions are installed
This is a setup issue, not a coding failure. Restart the terminal, check installation, and confirm the PATH setting before changing your code.
Step 2: Set Up VS Code for Python
After installing Python, install VS Code.
Then install the Python extension inside VS Code.
A common beginner mistake is opening only one Python file directly. For real projects, it is better to create a project folder first and open that full folder in VS Code.
For example, create a folder named:
python-project
Then open that folder in VS Code.
This helps VS Code understand your project structure, virtual environment, files, and terminal location.
Select the Correct Python Interpreter
VS Code needs to know which Python installation or virtual environment it should use.
If the wrong interpreter is selected, you may face errors like:
ModuleNotFoundError: No module named 'requests'
Even if you installed the package, VS Code may still show an error if it is using another Python interpreter.
The better habit is:
- open the full project folder
- create a virtual environment
- activate it
- select that environment as the interpreter in VS Code
Step 3: Create a Proper Python Project Folder
Real projects should not be saved randomly on the desktop with file names like:
new.py
final.py
final2.py
practice_latest.py
This creates confusion later.
A simple beginner-friendly Python project structure can look like this:
python-project/
│
├── main.py
├── requirements.txt
├── README.md
└── venv/
Here is what each file or folder means:
| File or Folder | Purpose |
|---|---|
| main.py | Main Python file where your code starts |
| requirements.txt | List of packages used in the project |
| README.md | Notes or explanation about the project |
| venv/ | Virtual environment for this project |
For bigger projects, the folder structure will become more detailed. But for beginners, this is enough to start with good habits.
Practical Warning
Avoid naming your Python files after package names.
Do not create files like:
requests.py
pandas.py
flask.py
random.py
Why?
Because Python may get confused between your file and the actual package.
If you install requests and also create a file named requests.py, your import may break.
Use clear names like:
main.py
api_test.py
weather_app.py
data_cleaning.py
Step 4: Create and Activate a Virtual Environment
A virtual environment creates a separate space for one project’s packages.
Create a virtual environment using:
python -m venv venv
This creates a folder named venv.
Now activate it.
On Windows:
venv\Scripts\activate
On Mac or Linux:
source venv/bin/activate
After activation, you may see something like this in your terminal:
(venv)
That means your virtual environment is active.
For technical details, you can refer to the Python official venv documentation, but beginners only need to understand one thing clearly: venv keeps project packages separate.
Why Does This Matter?
Imagine you are working on two Python projects.
Project A needs one version of a package.
Project B needs another version of the same package.
Without a virtual environment, these packages may mix and create errors.
With a virtual environment, each project keeps its own tools separately.
A simple way to understand it:
A virtual environment is like a separate school bag for each subject. Each project carries only the tools it needs.
Practical Warning
Always activate your virtual environment before installing packages.
If you forget this step, packages may install globally on your system instead of inside your project.
Also, do not manually edit files inside the venv folder. Treat it as a system-generated folder.
Step 5: Install Python Packages Using pip
Python has many built-in features, but real projects often need external packages.
For example, to call an API easily, you can install requests.
Run this command after activating your virtual environment:
pip install requests
Now create a file named main.py and write:
import requests

response = requests.get("https://api.github.com")
print(response.status_code)
This code sends a request to GitHub’s public API and prints the response status code.
If everything is set correctly, you should see:
200
This is a small example, but it teaches an important real project habit: installing and using external packages.
Common Issue: ModuleNotFoundError
If you see:
ModuleNotFoundError
check these things:
- Is your virtual environment activated?
- Did you install the package inside the correct environment?
- Is VS Code using the correct interpreter?
- Are you running the file from the correct folder?
- Did you name your file after the package?
Many students think this error means their code is wrong. Sometimes the logic is fine, but the setup is wrong.
Step 6: Save Project Dependencies in requirements.txt
In real projects, you should not only install packages. You should also save the list of packages used in the project.
That is where requirements.txt helps.
After installing your packages, run:
pip freeze > requirements.txt
This creates a list of installed packages and versions.
Later, if another student, trainer, or developer wants to run your project, they can install the same packages using:
pip install -r requirements.txt
Think of requirements.txt like a project shopping list.
It tells others:
These are the packages needed to run this project.
This habit is useful in internships, team projects, backend development, data analytics projects, and deployment work.
Step 7: Understand Basic Git and GitHub Usage
Git and GitHub are not required to write your first Python file, but they become important when you start working on real projects.
Git helps you track changes.
GitHub helps you store your code online and share it with others.
At the beginner level, you only need to understand the purpose. Later, you can learn commands like:
git init
git status
But do not turn this into a full Git lesson on day one. First, become comfortable with Python setup, folders, virtual environments, and running files.
Practical Warning
Do not upload your venv folder to GitHub.
Later, you should learn how to use a .gitignore file so unnecessary folders and files are not pushed to your repository.
Common Python Setup Mistakes Students Make
From a training perspective, many beginner errors are not actually coding mistakes. They are setup mistakes.
Here are common ones:
| Mistake | Why It Creates Problem | Better Habit |
|---|---|---|
| Not using virtual environment | Packages get mixed between projects | Create venv for every project |
| Installing packages globally | Version conflicts can happen later | Install packages inside project environment |
| Wrong interpreter in VS Code | Package errors appear even after installation | Select the correct project interpreter |
| Running commands from wrong folder | Files and packages may not be found | Open terminal inside project folder |
| Naming file requests.py | Python import may break | Use names like api_test.py |
| Keeping all files on desktop | Project becomes messy | Use one folder per project |
| Ignoring terminal errors | Same mistake repeats | Read the first few lines carefully |
| Using only online compilers | Real project workflow is not learned | Move to local setup early |
A good student does not avoid errors. A good student learns how to read and solve them step by step.
Setup errors are part of learning. Once you solve them a few times, you become more confident using real development tools.
Python Setup Checklist Before Starting a Real Project
Before starting a real Python project, check this list:
- Python is installed
- Python version is checked in terminal
- VS Code is installed
- Python extension is installed in VS Code
- Project folder is created
- Full project folder is opened in VS Code
- Virtual environment is created
- Virtual environment is activated
- Correct interpreter is selected
- Required packages are installed
- requirements.txt is created
- README.md is added for notes
- Git is initialized, if needed
You do not need to become perfect on the first day. But following this checklist will prevent many common beginner problems.
Simple Practice Task for Students
The goal of this task is not to build a big app. The goal is to become comfortable with real Python project setup.
Create a folder named:
python_api_practice
Inside this folder, do the following:
- Open the folder in VS Code.
- Create a virtual environment.
- Activate the virtual environment.
- Install requests.
- Create main.py.
- Write code to call a public API.
- Print the response status code.
- Create requirements.txt.
Commands you may use:
python -m venv venv
Windows activation:
venv\Scripts\activate
Mac/Linux activation:
source venv/bin/activate
Install package:
pip install requests
Save dependencies:
pip freeze > requirements.txt
Example main.py:
import requests

response = requests.get("https://api.github.com")
print("Status Code:", response.status_code)
If this runs successfully, you have completed your first practical Python environment setup.
That is a small but important step.
What to Learn After Python Environment Setup
Once your setup is ready, the next step is not to jump directly into big projects.
Move step by step.
A good learning path can be:
- Core Python logic
- Functions and modules
- File handling
- Error handling
- Object-oriented programming
- Working with APIs
- Basic Git and GitHub
- Small project-style assignments
- Backend, data analytics, or AI/ML path based on your goal
After setting up your environment, the next step is to follow a clear Python roadmap for beginners so you know what to learn next.
This is where many students need guidance. They know some syntax, but they do not know how to connect topics with real project work.
For example:
- Backend students should learn APIs, databases, authentication, and project structure.
- Data analytics students should learn files, data cleaning, pandas, NumPy, and visualization.
- AI/ML students should learn Python basics, data handling, models, APIs, and practical workflows.
So your Python setup is not the final goal. It is the foundation for everything you will build next.
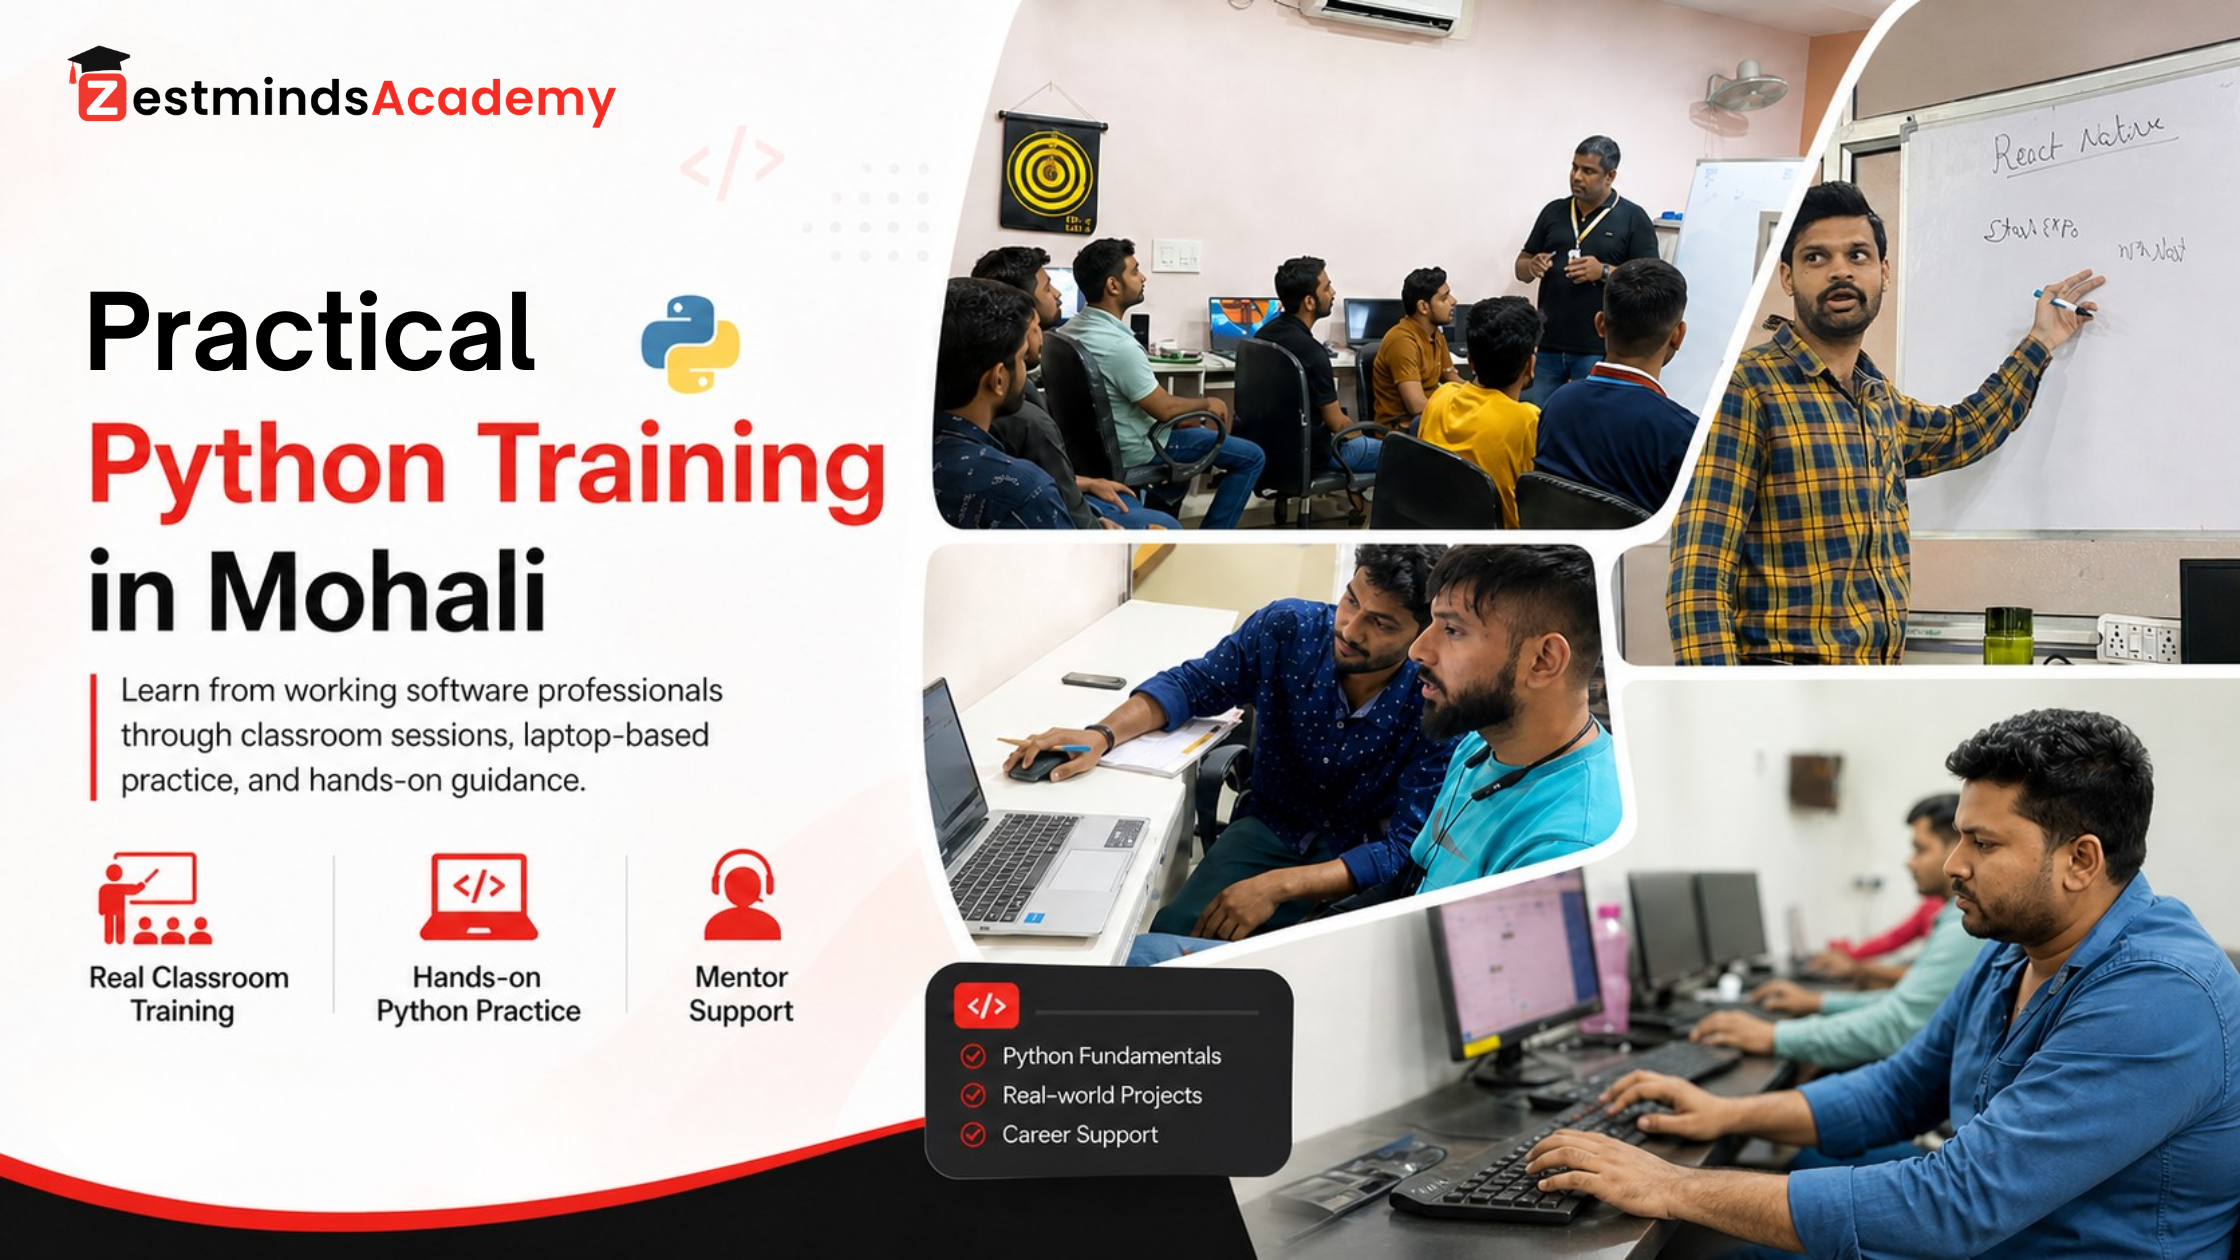
Practical Python Learning at Zestminds Academy
At Zestminds Academy, we often see students who know basic Python syntax but struggle when they have to run code locally, install packages, debug errors, or organize a project.
That is why practical learning matters.
A student should not only learn what a loop is. They should also learn how real project files are created, how packages are managed, how errors are debugged, and how code is prepared for project-style work.
For parents comparing training options, this is also an important sign of practical learning: students should not only be taught syntax, but also how real development work is done.
For students in Mohali, Chandigarh, Kharar, Zirakpur, Panchkula, and nearby regions, practical Python training can help bridge the gap between classroom theory and real development habits.
If you want guided Python learning with setup, coding practice, debugging, and project-style assignments, explore our Python Training in Mohali.
Final Thoughts
A proper Python development environment setup may look small in the beginning, but it makes a big difference later.
When your setup is clear, you can focus better on learning Python logic, solving problems, building projects, and understanding real development workflows.
Do not feel discouraged by setup errors. Almost every beginner faces them.
The important thing is to learn the right habits early:
- create a project folder
- use a virtual environment
- install packages carefully
- save dependencies
- select the correct interpreter
- read errors patiently
That is how you move from basic Python practice to real project-based learning.
FAQs About Python Development Environment Setup
What is a Python development environment?
A Python development environment is the complete setup used to write, run, test, and manage Python code. It includes Python, a code editor, terminal, project folder, virtual environment, packages, and dependency files.
How do I set up Python for real projects?
Install Python, install VS Code, create a project folder, create a virtual environment, activate it, install required packages using pip, and save dependencies in requirements.txt.
Is VS Code good for Python beginners?
Yes, VS Code is useful for Python beginners because it is lightweight and supports Python development through extensions. But beginners should learn how to select the correct interpreter and use the terminal properly.
Should I use VS Code or Jupyter Notebook for Python?
VS Code is better for structured Python projects with folders, files, APIs, scripts, and reusable code. Jupyter Notebook is useful for data analysis, experiments, and step-by-step output. Students can learn both, but for real project structure, VS Code is a good starting point.
What is a virtual environment in Python?
A virtual environment is a separate space for one Python project’s packages. It helps keep project dependencies separate and avoids conflicts between different projects.
Why should I not install Python packages globally?
Installing packages globally can create version conflicts between projects. A package version that works for one project may create problems in another. That is why using a virtual environment is a better habit.
What is pip in Python?
pip is the package installer for Python. It is used to install external Python libraries and packages that are needed in real projects.
What is requirements.txt in Python?
requirements.txt is a file that stores the packages used in a Python project. Another person can use it to install the same packages and run the project correctly.
Do I need Git and GitHub for Python projects?
You do not need Git and GitHub on the first day of learning Python, but they are important for real projects, internships, and teamwork. Git helps track code changes, and GitHub helps store and share code online.
Why is Python not running in VS Code?
Python may not run in VS Code because Python is not installed properly, the wrong interpreter is selected, the virtual environment is not activated, the terminal is opened in the wrong folder, or the package is installed in a different environment.
Table of Contents
- What Is a Python Development Environment?
- Why Online Python Compilers Are Not Enough for Real Projects
- Tools You Need for Python Development
- Step 1: Install Python and Check It Correctly
- Step 2: Set Up VS Code for Python
- Step 3: Create a Proper Python Project Folder
- Step 4: Create and Activate a Virtual Environment
- Step 5: Install Python Packages Using pip
- Step 6: Save Project Dependencies in requirements.txt
- Step 7: Understand Basic Git and GitHub Usage
- Common Python Setup Mistakes Students Make
- Python Setup Checklist Before Starting a Real Project
- Simple Practice Task for Students
- What to Learn After Python Environment Setup
- Practical Python Learning at Zestminds Academy
- FAQs About Python Development Environment Setup
Mandeep Kaur
Stay Ahead with Expert Insights & Trends
Explore industry trends, expert analysis, and actionable strategies to drive success in AI, software development, and digital transformation.
Begin Your Journey to a Successful Tech Career
Talk to our mentors and choose the right training program.
Call us: +91-9056277961
Email us: hello@zestmindsacademy.com